


(Click on the photo to see more detail)
Before on the left - After on the right
1. Step One - Assess the damage
a. Lashings were damaged. It would need to be relashed.
b. The ribs had pushed the inwale up and the inwale and outwale were not in alignment. This was because the canoe
was never pegged, just lashed. Pegging is vital.
c. There was no gunwale cap. The cap creates an element of stability and is not just for protection of the lashings. The
ribs can exert so much pressure that they push the gunwales out (they are held in place at the thwarts but push outward
between the thwarts and look like a fat woman in spandex). The gunwales would need to be heated and pressed back
into shape and then fitted with caps.
d. The canoe was made with bad bark. It was delaminating and thus left these weird bubbles. I needed to remove
the bubbles. Since this would just be a display canoe I could do some things that I wouldn't do with a functioning one
and thus could make the repair almost invisible using polyurethane glue.
e. The orignal stems were poorly done - not just in design but in rendition so I needed to pull them out and create
and install new ones. I decided to create an "Old Style Algonquin" instead of a "Wabanaki Chiman". I would need to
bend the outwales up to meet the new higher stem profile. In the Algonquin canoes only the outwales were curved
upward so this wasn't that hard.
f. The installation of the sheathing was rather sloppy so when all was done this got cleaned up a bit.
2. Step Two - Make a plan
a. Fix the gunwales.
b. Fix the stems
c. Relash the canoe where it needs relashing
d. Adjust the ribs and sheathing to make things neat and tidy
e. Repitch the canoe
3. Note: Only remove what is needed and no more. In the case of this canoe I had to take the tension out of the canoe so I
loosened the ribs. I don't like to take them out if I don't have to and when I was modifying the thwarts I would take one out,
fix it, reinsert it and then do the next one. This way the canoe stays together.
If you ever have to do really serious repair then you will have to put it on a building bed or platform, place a building
frame inside and stake it out just the way it was done when it was built. The canoe didn't require that.
Let's go through the above photos .
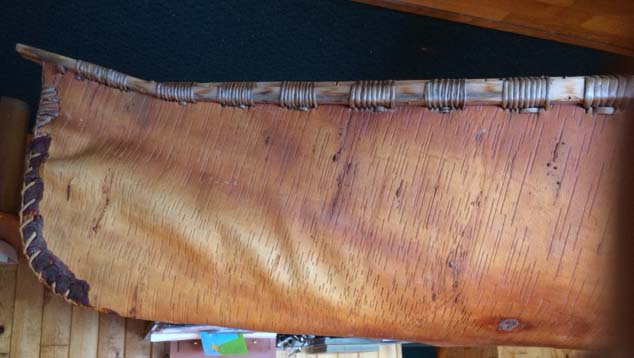
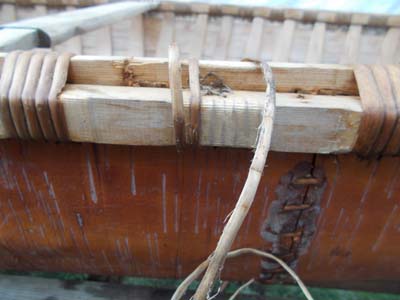
Photos #1 and 2 - This is what happens if there is no gunwale cap and the ribs are put in with a lot of pressure.
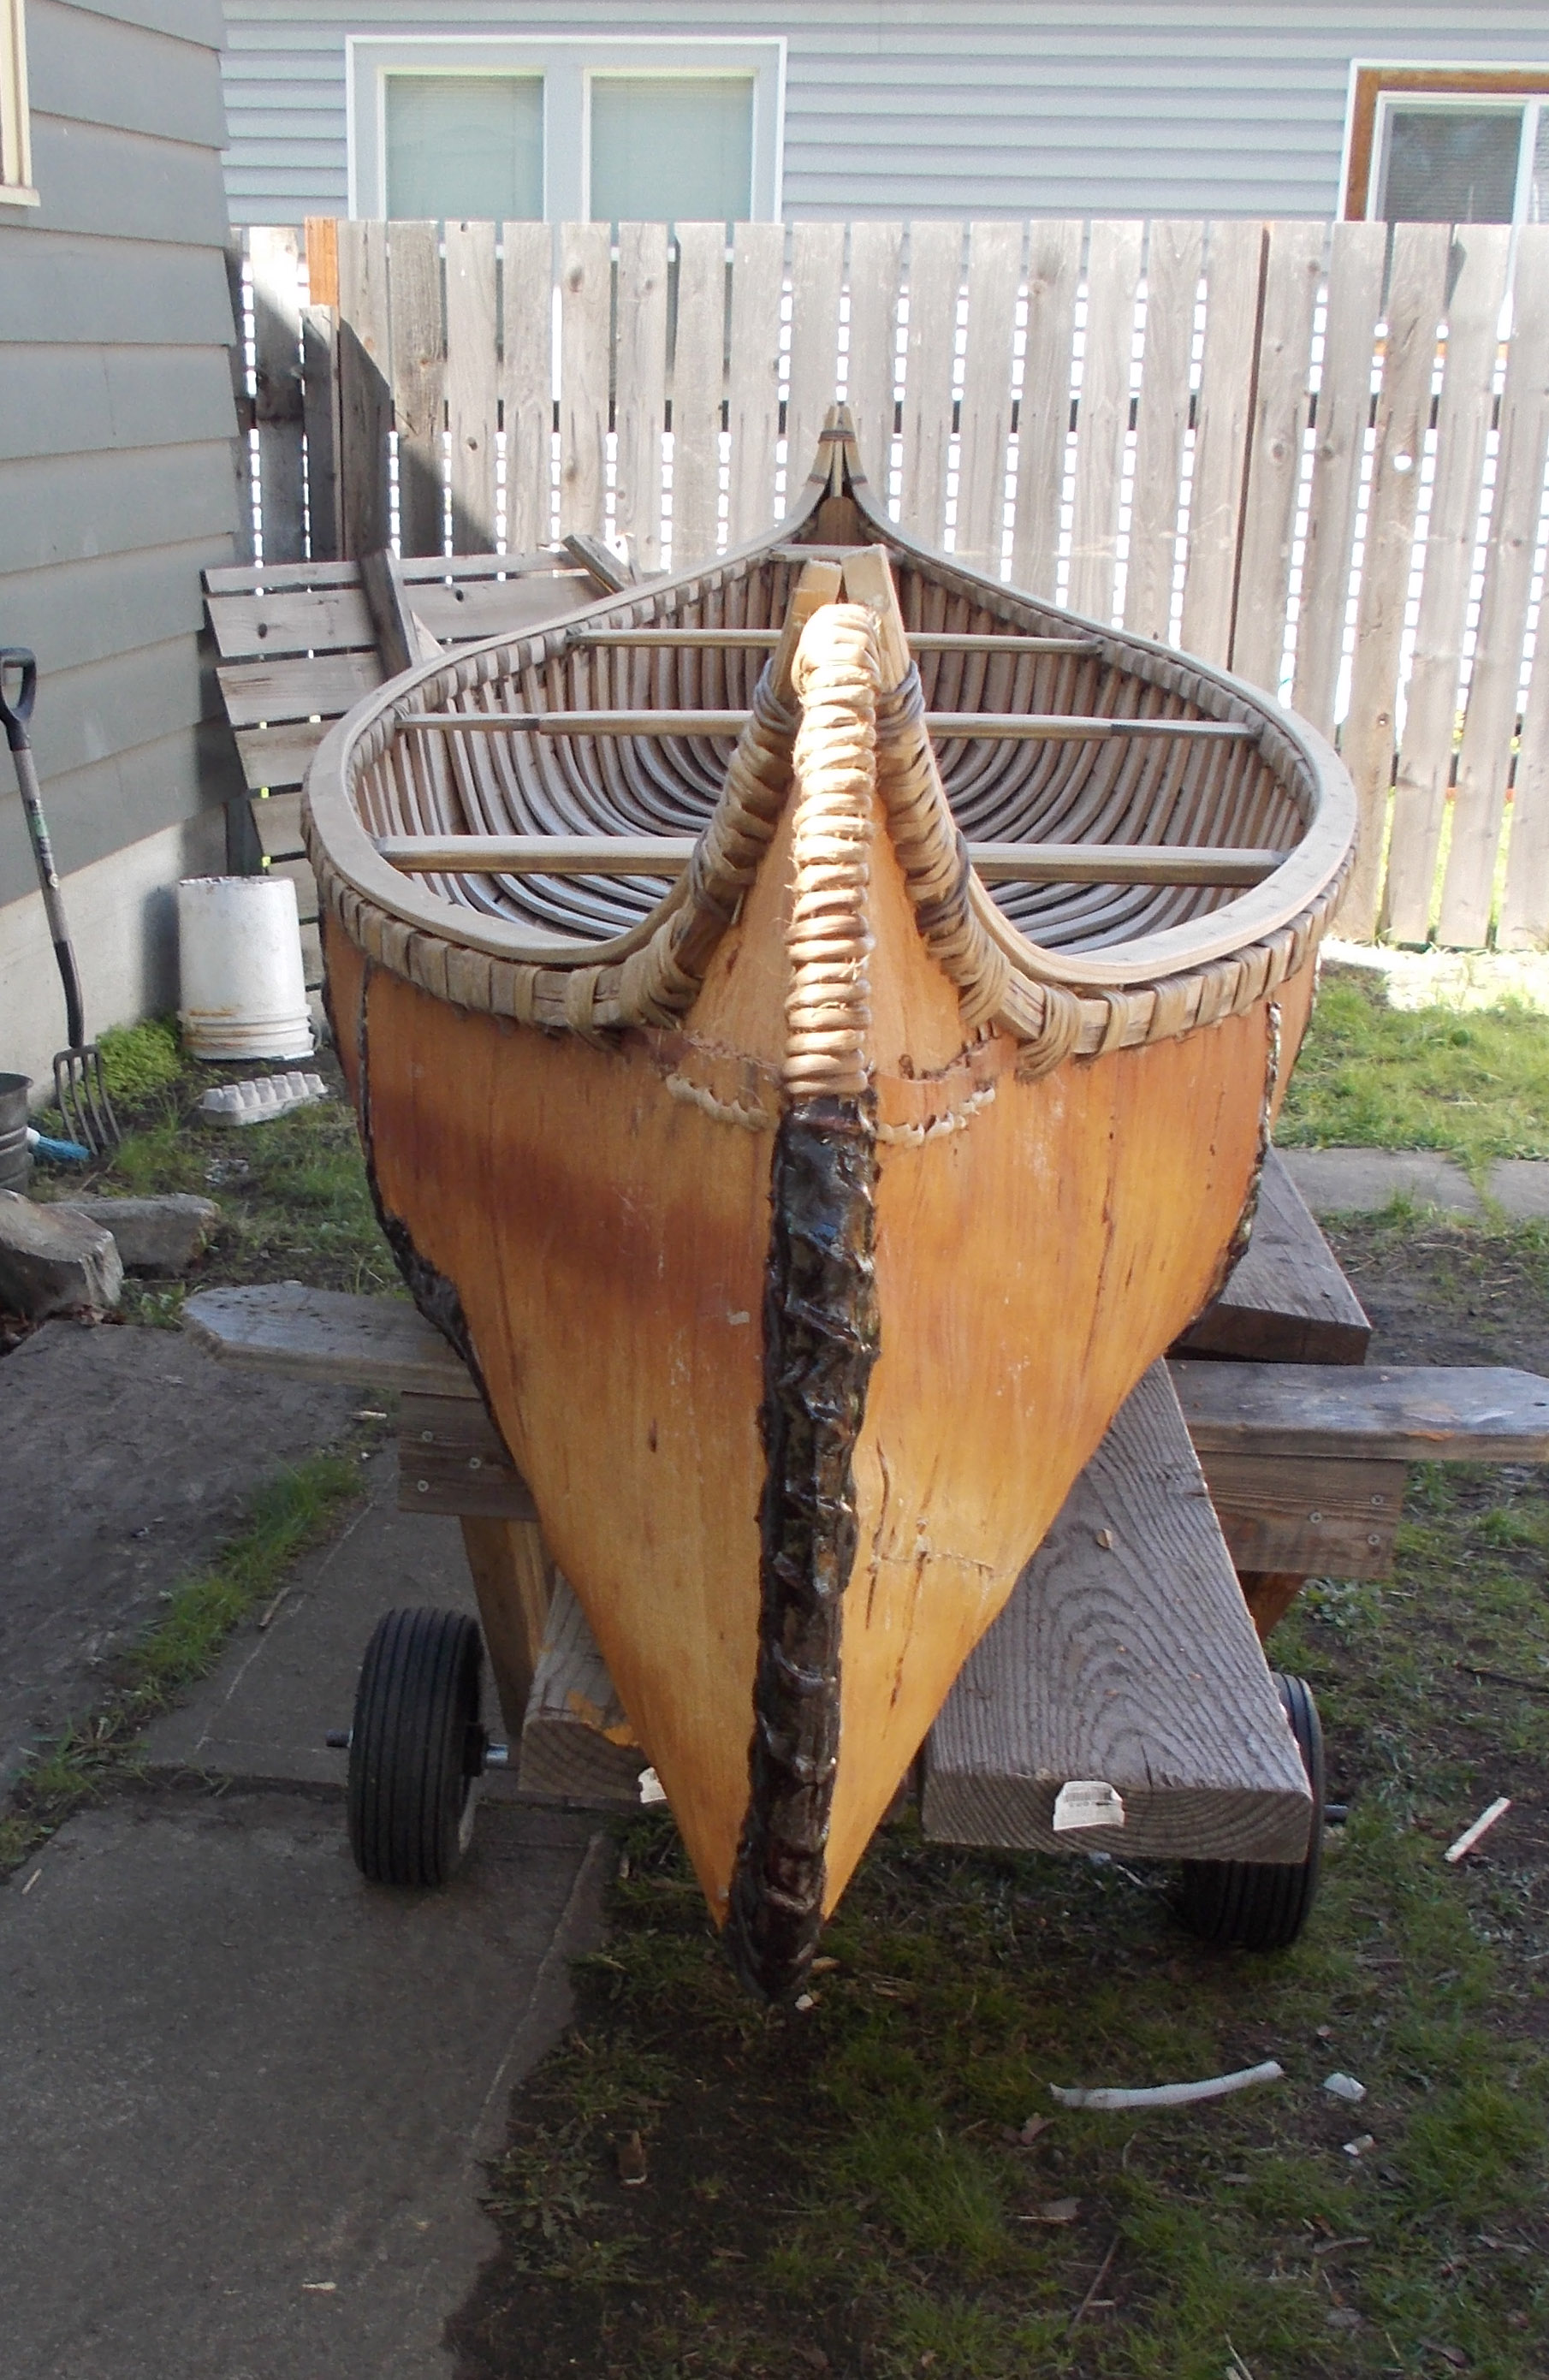
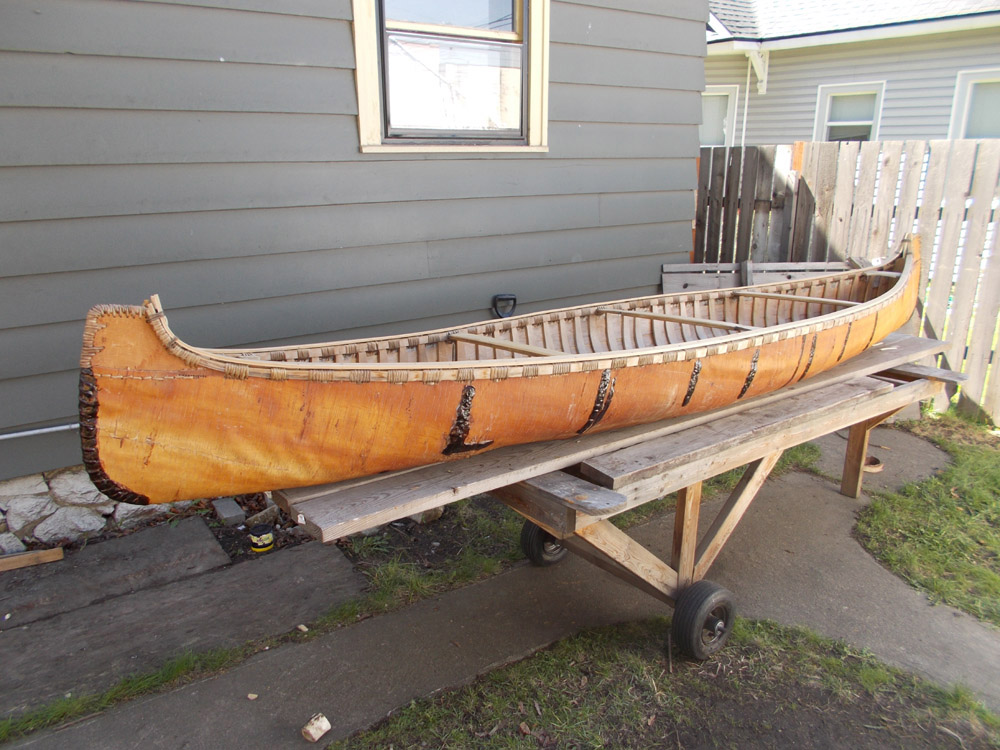
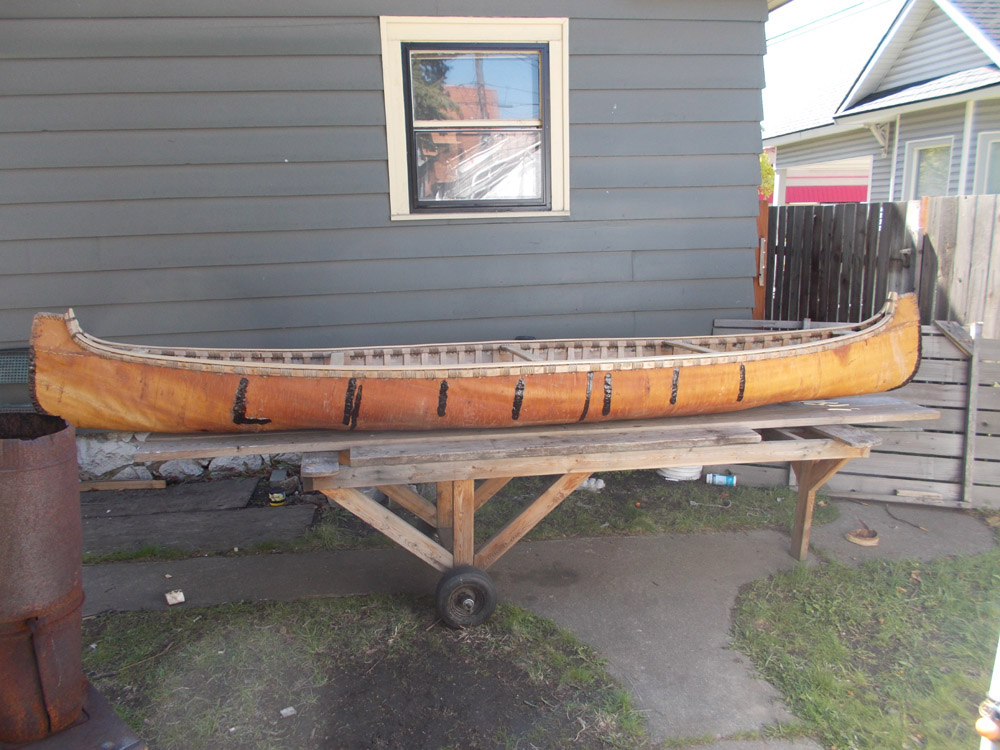
Photos #3 and 4 - This canoe was really a piece of crap and now it is a tight little whench with nice sexy lines. It's a "wall hanger"
but should have a nice long second life.
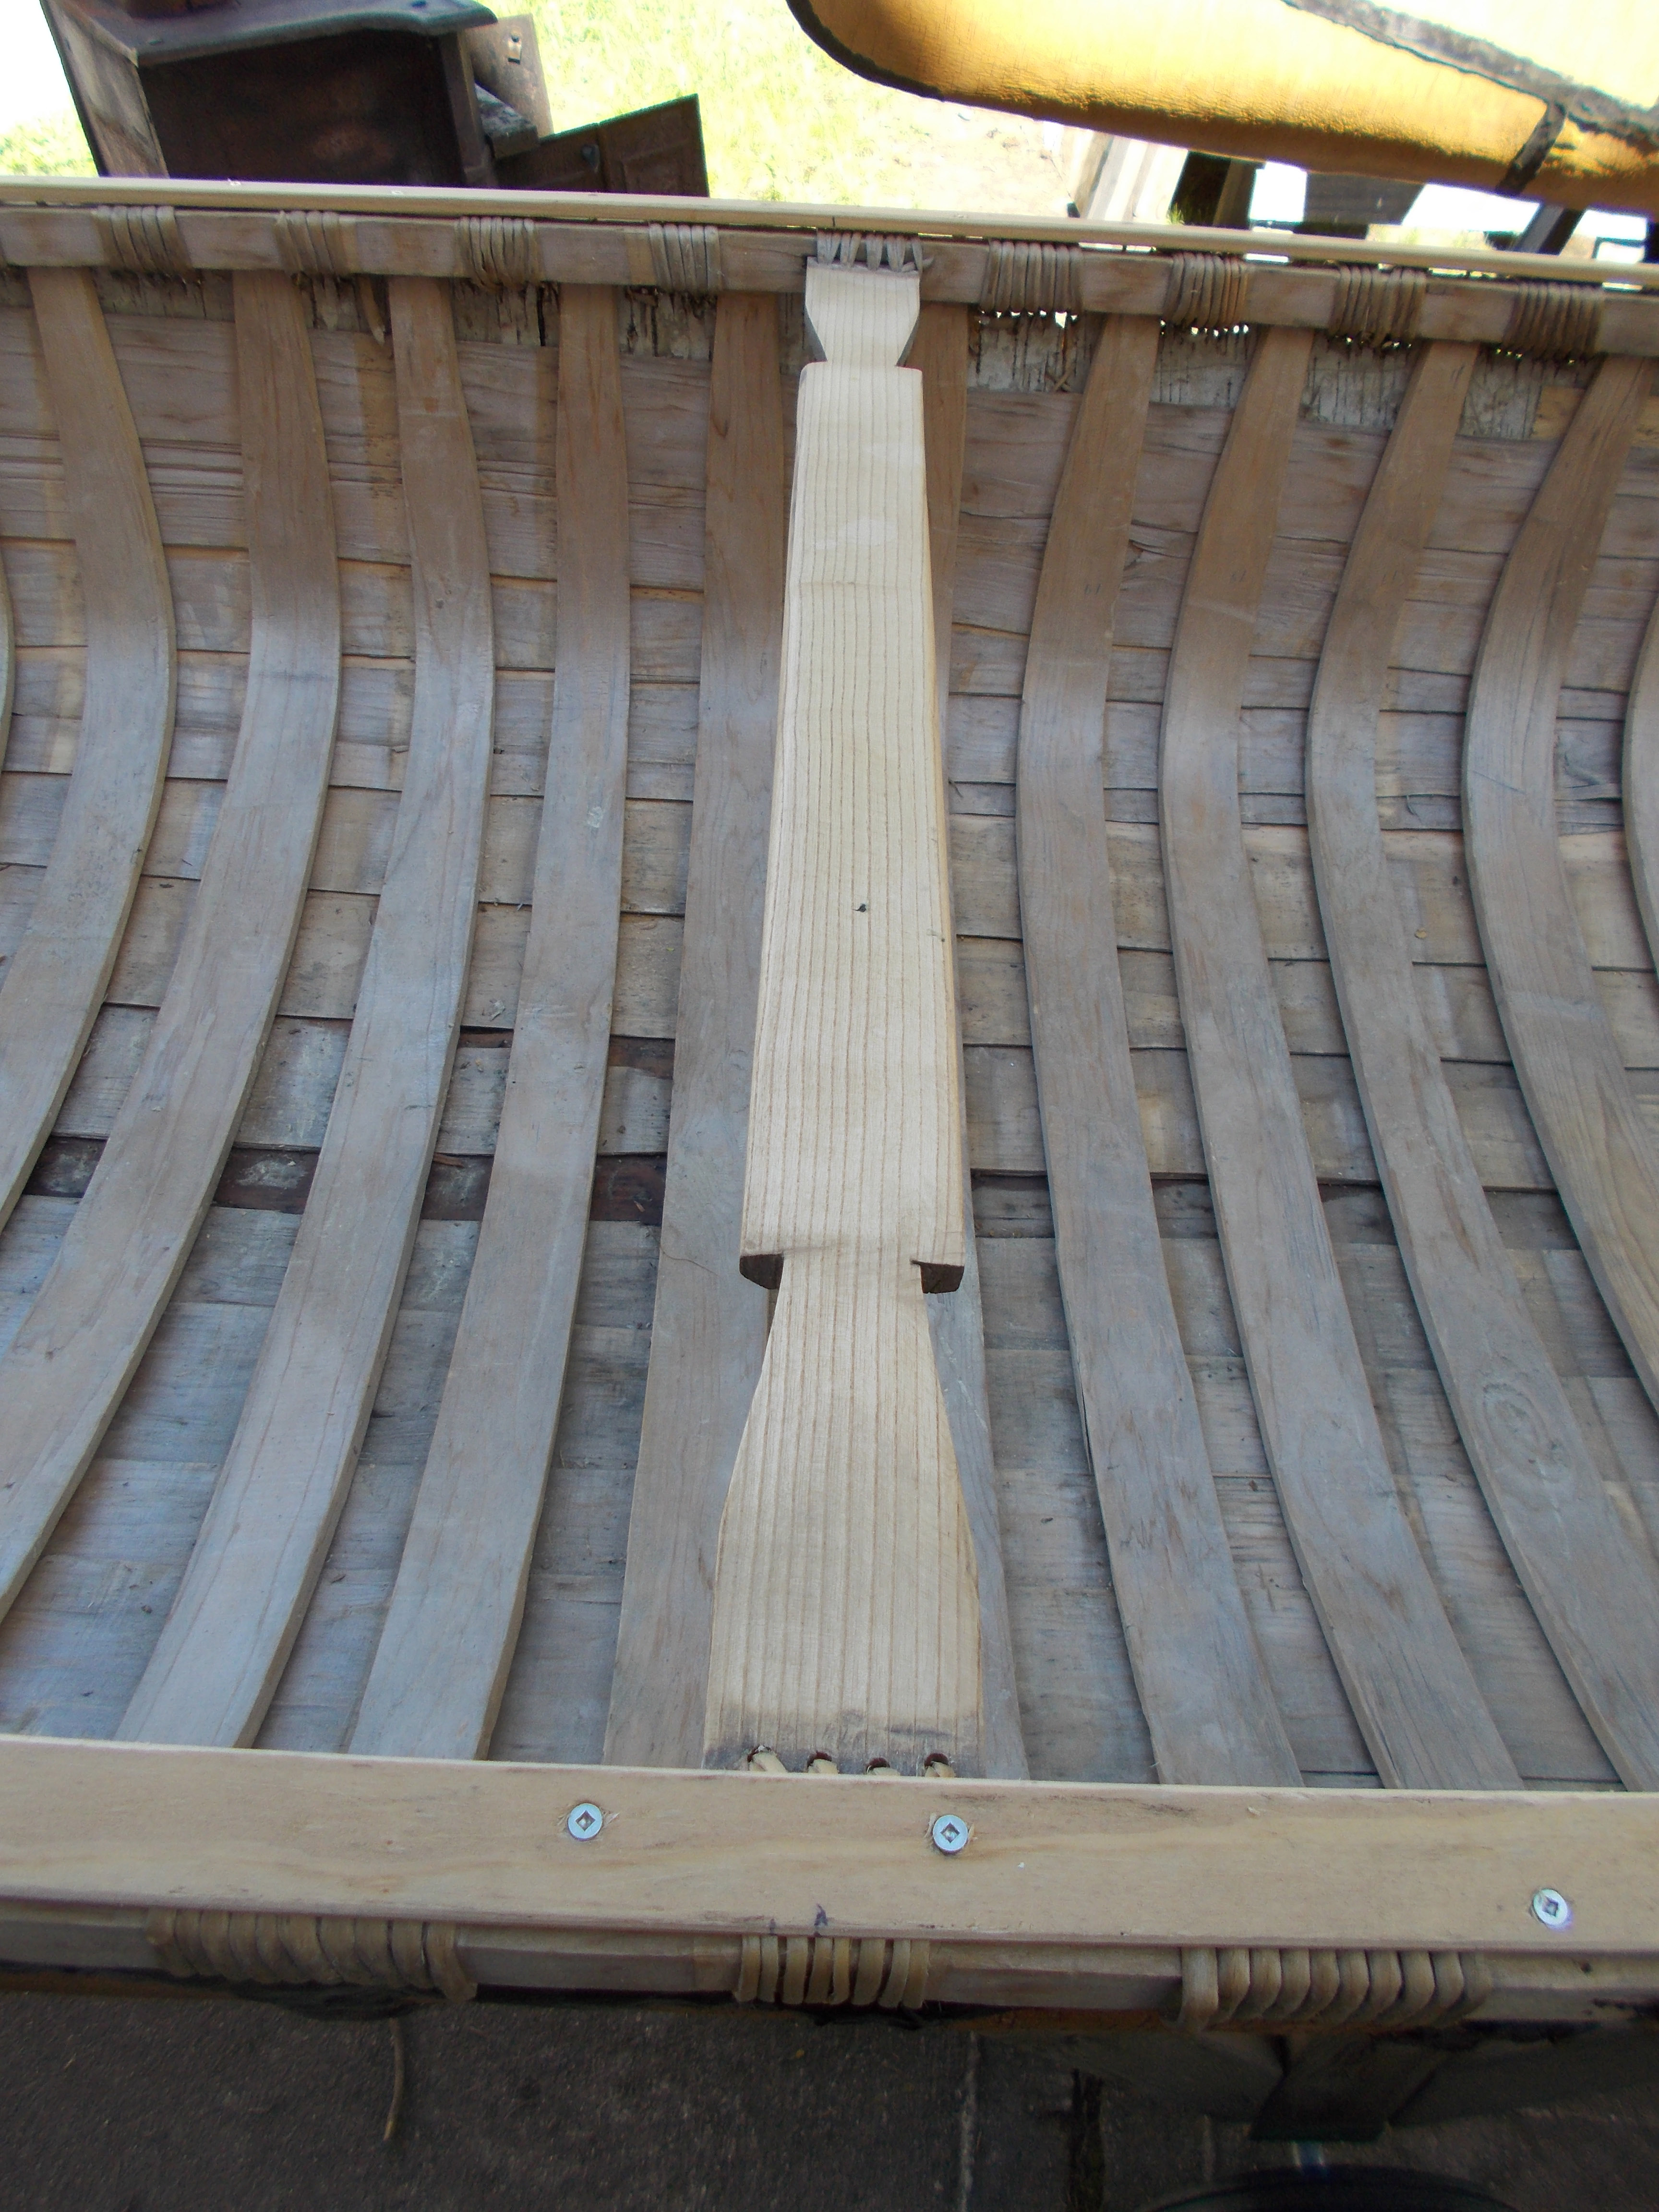
Photos #5 and 6 - Funky center thwart. I wanted to change it. I also didn't like the way the thwarts beveled at the point
where they inserted into the inwales.
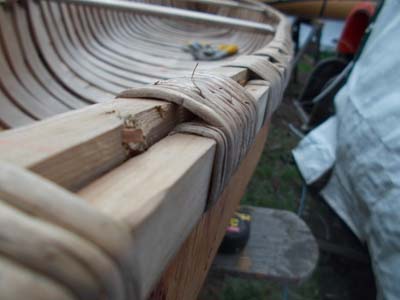
Photos #7 and 8 - This is what happens if you don't peg the gunwales. You can see that lashing is not enough.
Photo #5 - Here you can see the shape of the canoe after the gunwales were fixed, caps were added, new stems and prow
bark.
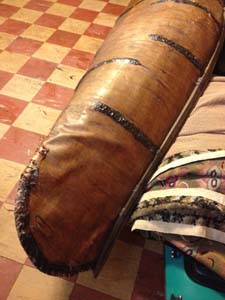
Photo #6 - Canoe repitched and issues with bark handled.
Photo #7 & 8 - Before and after. If you look closely you can see what was done to the bark.
The outwales were pretty much even with the top edge of the bark but the ribs had pushed the inwales up. Once the
ribs were loosened in an area I place a piece of wood about 6 inches long along the inwale and pounded it with a hammer.
This drove the inwale back down even with the top edge of the bark and the outwale. This was done a bit at a time throughout
the canoe. Once that was done I clamped it in place.
This was a wall hanger so instead of using hardwood pegs I used stainless steel screws which must almost go through the
inwale. Nails don't work as they will bend. Bronze or stainless steel screws work great and square hardwood pegs work best.
To reshape the gunwales I fashioned some "binders". A binder is a thwart-like piece with wooden "hooks" screwed or nailed to
it and is laid across the canoe to hook over the gunwales and bind the canoe so that when the new ribs are placed in the canoe
the outward pressure of the newly bent ribs don't mishape the gunwales - an indeed they will do that. I ran very hot water over
the gunwales and then placed the binder pieces in such a way that it pull the stretched out gunwales back into proper place. Once
they dried they held their shape. In ensure this would not happen again I placed a cop on top once the gunwales were
relashed.
Now that the canoe was stable I went to work on the ends. This required taking the ribs out at the ends and
removing the sheathing so that I could get in and remove the stem pieces.
The new stem pieces are placed while the canoe is on the ground or a platform and held in place with a couple
of wooden clamps which are simply two pieces of wood tied together at one end
(18" long x 2" wide x 3/8" tick - trimmed off rib ends).
I get it all aligned and peg it in a few places. Then flip the canoe over and make sure it is aligned at the bottom.
Pour hot water on the bark, take a wooden clamp and pinch the bark together in the area where the stem meets
the bottom of the canoe once aligned.
There is a trick to trimming the bark where the stem meets the bottom and the original builder did not know this trick
because it was not done and thus that area had issues. You make a cut down the center of the fold that the bark makes
when pinched. That cut goes from the outer edge to where the stem hits the bottom of the canoe. Then trim the bark
along the edge of the stem. Peg into place and lash the stem.
With the stems in place the canoe had its new shape. The ribs and sheathing are put back into place, pounded in and
the only thing left is to re-pitch the seams. Once that was done the restoration was complete.
john@barkcanoe.com to share anything you would like.
509-327-7902 voice and fax barkcanoe@earthlink.net e-mail
Home Canoes Classes Materials Accessories News and Stuff Links Consignment Canoes